
In this blog, I will show you how to deploy static frontend pages with Cloudflare.
We have many ways to deploy static frontend pages, such as Netlify, Vercel, GitHub Pages, etc. But in this blog, I will show you how to deploy static frontend pages with Cloudflare. I like this way because it’s free :))
Ok, let’s start! First, you need to push your frontend code to git(Github, Gitlab, Bitbucket, etc). In this blog, I will use Github.
Then, you need to create a Cloudflare account. You can sign up here. If you already have an account, you can log in here.
Login to Cloudflare dashboard using your account. Click on the “Workers & Pages” tab. Then, click on the “Create” button.
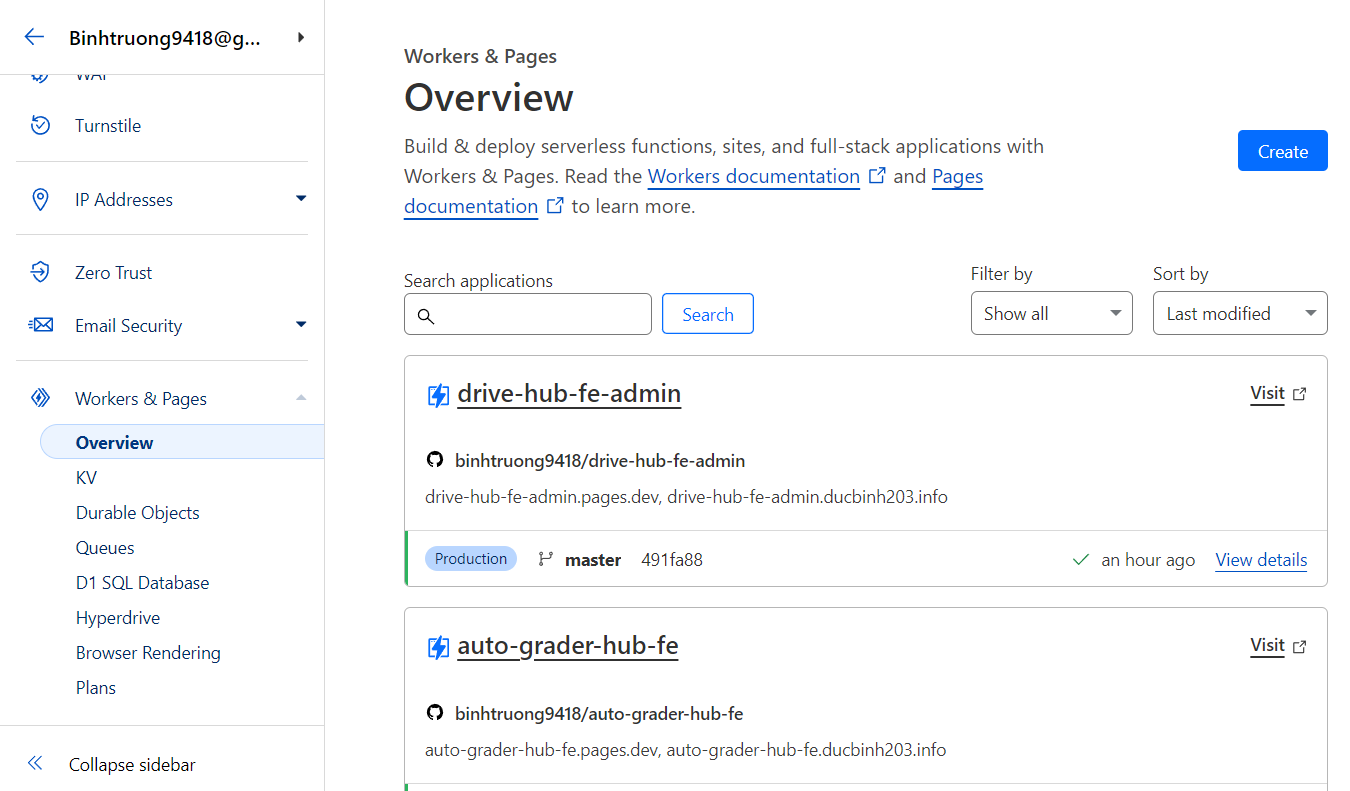
In the “Create Application” page, choose the tab “Pages” and connect to your git account.
Then, choose the repository that you want to deploy.
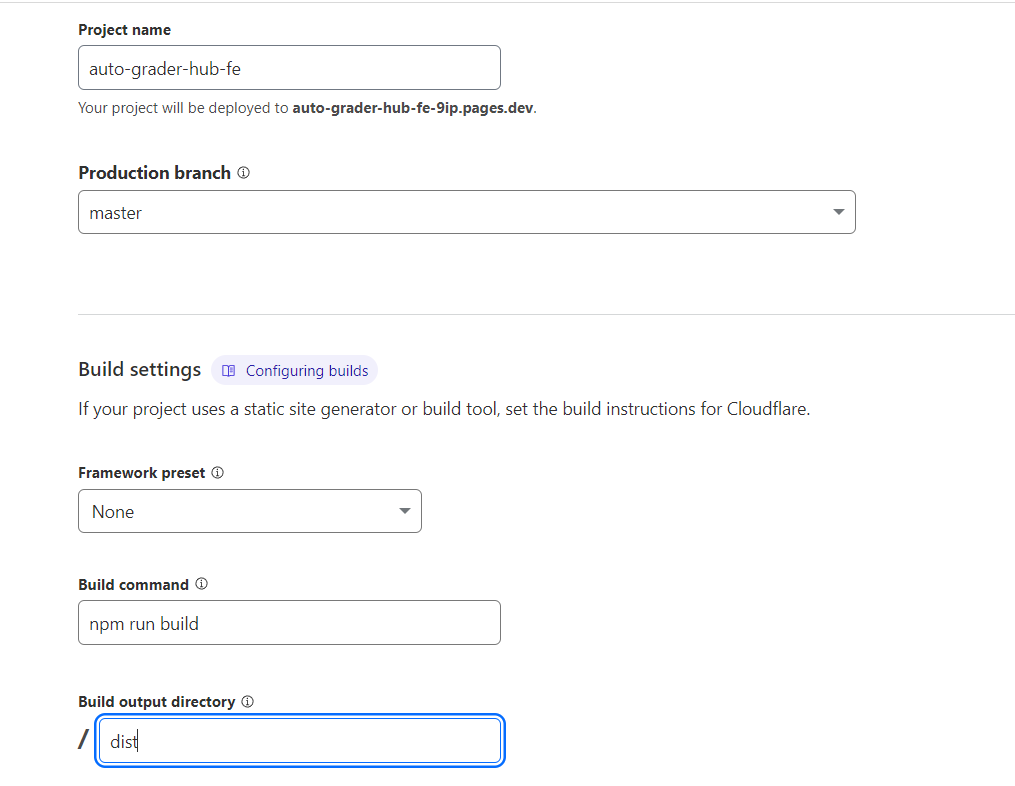
After choose the repo setup build command and output directory.
(For example, if you use React, the build command is npm run build and the output directory is build)
Here is an example of to deploy a React app with Vite:
Click on the “Save and Deploy” button. Wait a few minutes, and you will see your site is live. Your site will be deployed to a domain like this:
https://<your-repo-name>.pages.devThen you can custom your domain by adding a custom domain to your site. Every time you push your code to git, Cloudflare will auto deploy your site.
Sometimes you face some problems for the first deploy. Just remove yarn.lock or package-lock.json and push your code again.
That’s it! You have successfully deployed your static frontend pages with Cloudflare.